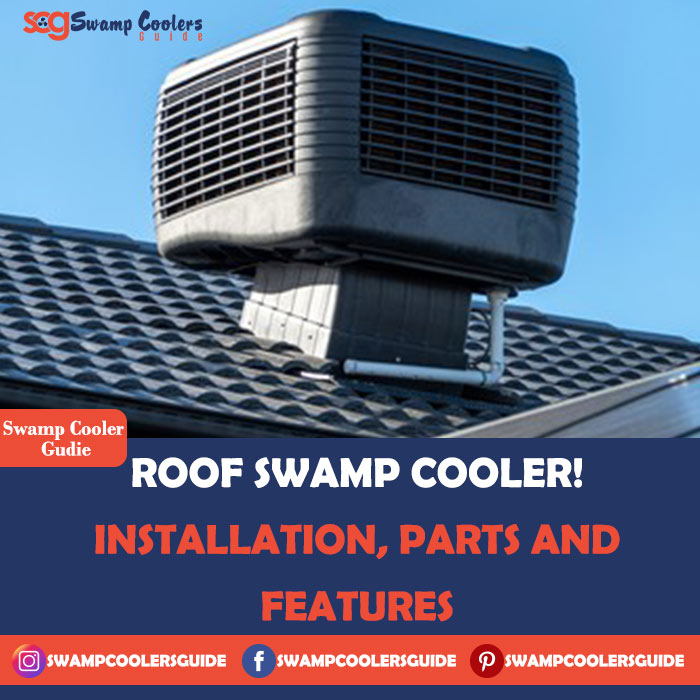
In the summer, swamp coolers are the best option because they are energy-efficient and environmentally friendly. You should consider roof swamp coolers if you are concerned about hot weather or electrical bills.
Roof Swamp Cooler:
A swamp cooler can add moisture to a home while cooling it at the same time. Installing these items is usually beyond a DIYer’s skill set, but knowing the installation requirements will help when choosing a professional
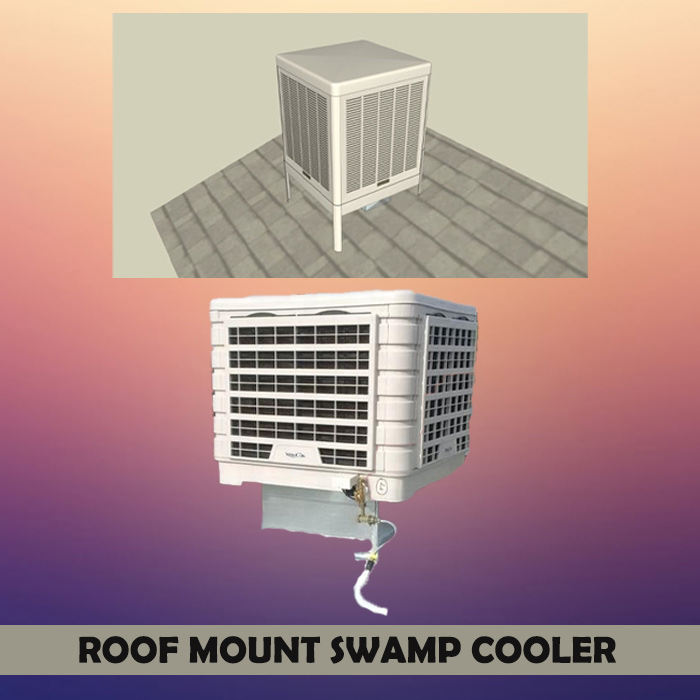
Roof Mount Swamp Cooler:
The swamp cooler can lower the temperature of your home by 15 to 40 degrees Fahrenheit. However, the machine won’t work if your home lacks enough windows to circulate air. A Roof Mount swamp cooler provides a constant stream of fresh air, which is why windows should be opened.
According to the United States Energy Department, an effective system should be able to change the air inside of your space at least 20 to 40 times per hour. It will be necessary for the swamp cooler’s engine to be sized according to your home size, which will determine how large the unit can be and, of course, how complicated the installation is.
Swamp Cooler Installation Instructions:
The Best Location For Swamp Coolers
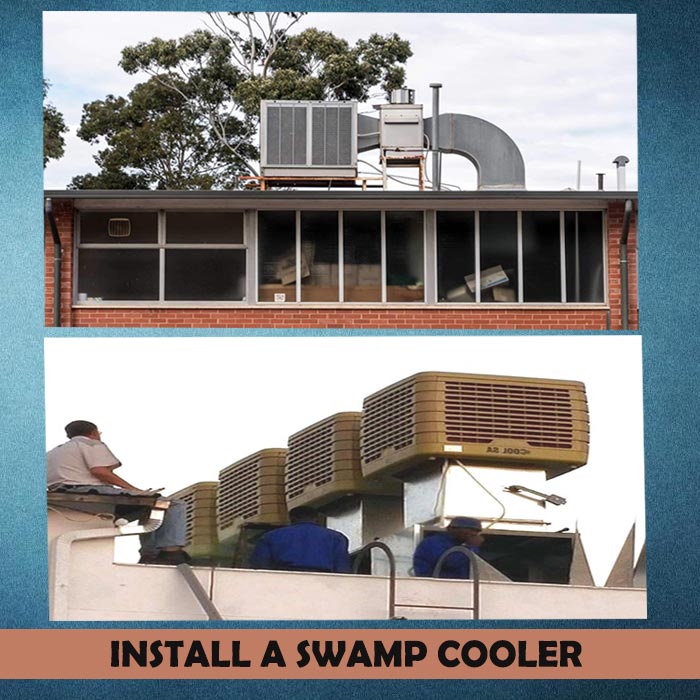
Typically swamp coolers are installed on roofs because they can easily be connected to existing ductwork and are the least expensive. Installing the system through the windows might be a good option if your home is small. Professionals, however, recommend ground-mounted swamp coolers to eliminate the risk of roof leaks. That system also provides homeowners with easier access to maintenance since it requires frequent yet simple maintenance.
[rank_math_rich_snippet id=”s-ac0ea4e7-5fad-4917-ba25-8363ce67a91f”]
When you place the four-way diffuser in a central hallway, the air will be cooler as it enters your space as it is closer. It is because of this reason that roofs are a popular and effective location for these units.
The swamp cooler requires a water supply, usually provided by PVC piping connected to your home’s plumbing. Usually, if the cooler needs to run smoothly, it must be elevated on its legs.
Ductwork And Roof-Mounted Coolers:
The best diffusers circulating the air in older homes without ductwork are those with four directions, situated near central hallways. When more than four diffusers are recommended, there is a risk of the system not being effective. Placing the four-way diffuser where the air will flow from most windows will be more effective.
There is generally 18×18 or 20×20 inch ductwork entering the roof, which is commonly used with chillers. Cutting any trusses during this project would damage the structure of your home, so the duct is usually run between trusses of the roof. The duct entry point needs to be framed with wood to be securely installed.
If you have a hallway below your ductwork, you should have a duct that feeds directly in. Installations above the diffuser can be made with offset systems or flexible insulated ductwork, but this reduces efficiency. Insulation of ducts can reduce the amount of noise produced by these systems since they are generally quite noisy.
Connecting The Swamp Cooler:
The cooler must also be wired into the electrical supply and plumbed in, in addition to a connection to ductwork. To do this, you will need an electrical switch and a roof jack and a connection to a cold-water source.
In The End, A Professional Installer Will Do The Following:
Choosing A Site For Installation And Preparing It:
The unit duct is installed in the roof and connected to the interior ductwork, if applicable.
The unit must be assembled, level, and mounted in place.
Set up the water supply and connect it to the existing electrical system.
Additionally, a professional will leave your unit looking sparkling after they’ve finished cleaning it up. As a result, you can enjoy an energy-efficient unit that uses about 75 per cent less energy, according to the US Energy Department.
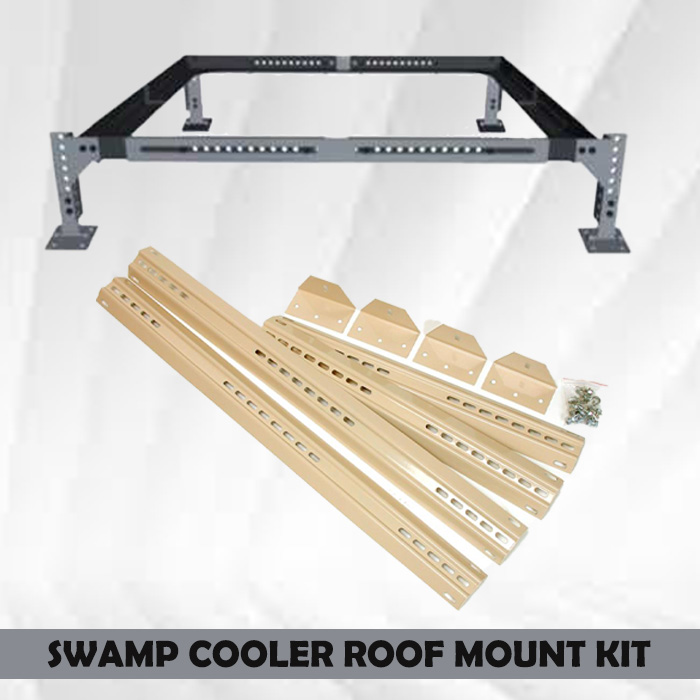
Swamp Cooler Roof Mount Kit:
To install a roof swamp cooler, you will need an apparatus kit containing all the necessary components. Roof mount kit is easily available at any home depot.
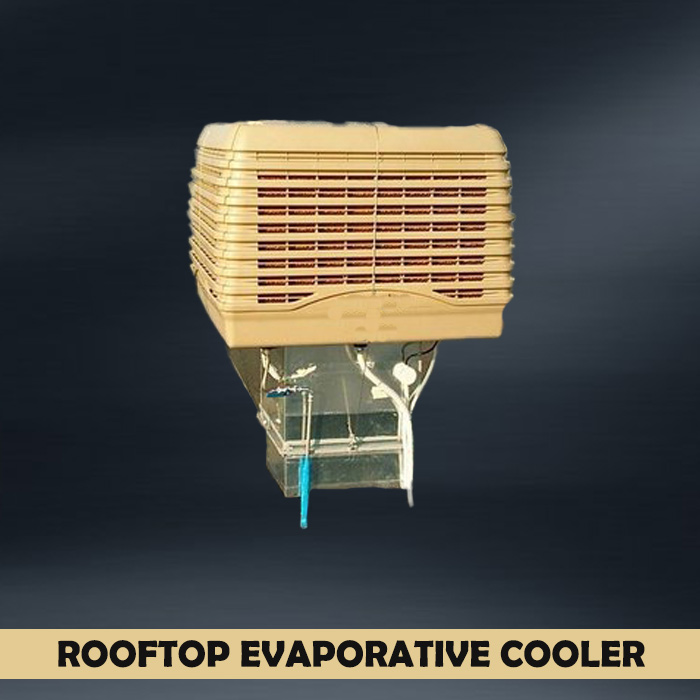
Rooftop Evaporative Cooler:
The rooftop evaporative cooler is commonly referred to as the roof swamp cooler. Everything you need to know about the cooler’s installation, wiring, and use is briefly discussed in the above article. During the summer, when you live in the big halls with a lot of space where you should install the roof swamp cooler, they are the best solution for you.
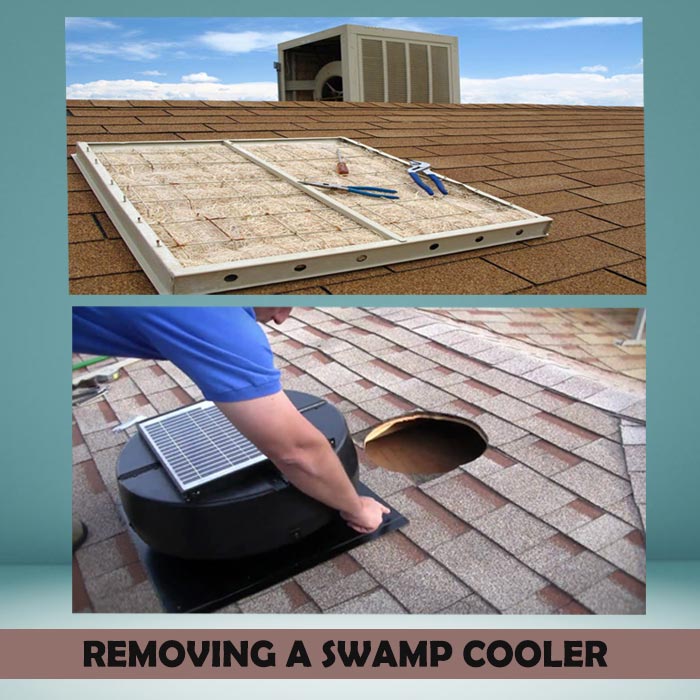
Removing A Swamp Cooler From Roof:
When the weather changes after the summer, it is important to winterize the swamp cooler. To maintain the swamp cooler, you need to remove it from your roof and winterize it. It will not only help you keep the performance of your cooler, but it will also save you money on maintenance.
It is not difficult to remove the swamp cooler from the roof; you need to clean it thoroughly and remove all the water inside. Then you should cover the cooler with a swamp cooler cover and tie it.
What You Won’t Need:
For these systems, 110-volt outlets are required. They do not require a refrigeration line or a return air duct. Currently, swamp coolers cannot be connected to existing duct systems; however, they will work well for smaller and older homes with ductless systems because they rely on natural airflow to circulate air.
Conclusion:
Those who plan to install a swamp cooler in a large area should consider a roof swamp cooler. However, if you live in a small room, you should install the window swamp coolers.
Roof swamp coolers work well when the roof condition is good, and there is no chance of leakage from the roof. Because swamp coolers have good airflow onto the roof, they are efficient.