Swamp coolers add moisture to the air during hot, dry weather to cool it down with very little energy consumption. Swamp coolers are easy to install. Installation requires minimal understanding of electronic devices. If you do not follow the general instructions to install a swamp cooler, this will negatively affect your cooler’s performance.
Swamp Cooler Installation:
Installation of a swamp cooler is not much complicated, but there are few basic and essential points that you should keep in mind. If you install the swamp cooler professionally, the performance of the swamp cooler will increase, but if the installation of the swamp cooler is not done properly, the swamp cooler will not work efficiently.
How To Install A Swamp Cooler:
Installation of the swamp cooler is not difficult, but one very technical step is to connect water pipes to the swamp cooler. Few coolers fill with water automatically, while some coolers use a manual system. However, you should make sure that there will be enough water in the swamp cooler when you turn on the swamp cooler.
How To Install A Swamp Cooler In A Wall:
It is the same process for installing a swamp cooler in a wall as it is for installing one in a window, so here are all the points to keep in mind as you install a swamp cooler in a window.
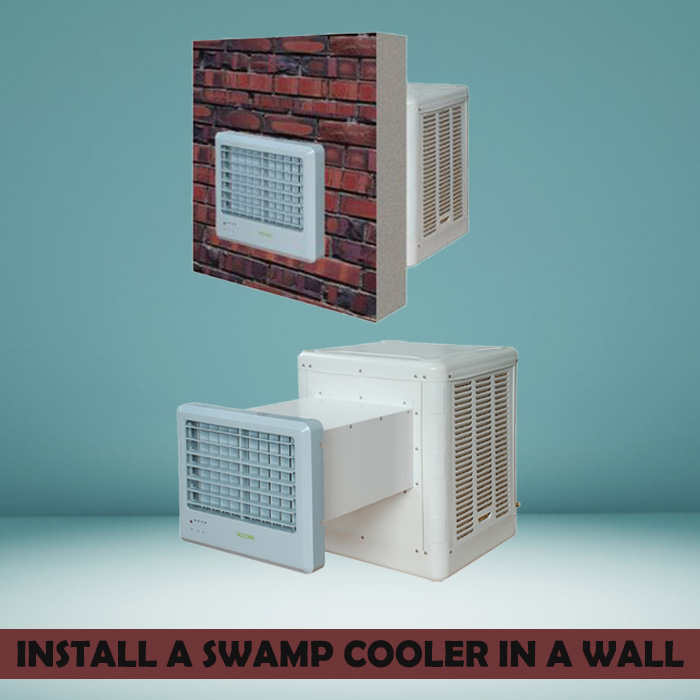
You can easily install the swamp cooler by following the given steps.
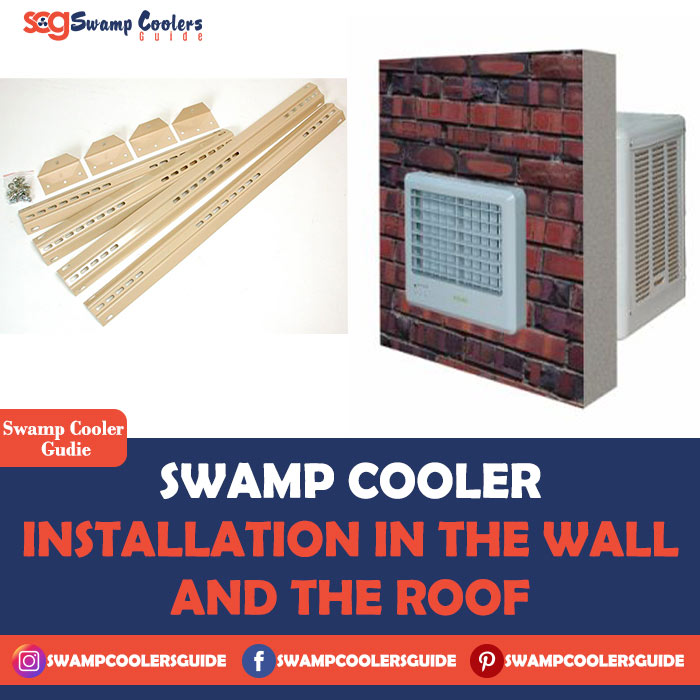
Step 1: Install The Support Bracket
When you install your swamp cooler, you need the support bracket since it carries the weight of your cooler. For the support bracket, you need an accurate measurement of the area where you will install the swamp cooler.
If you want to install a swamp cooler in a wall, it should be three or four feet above ground level. Support brackets can be either made of wood or iron. Your location and conditions will determine which option is best for you.
Step 2: Open The Window And Install The Unit
A swamp cooler is designed to be easily mounted in a window that is opened vertically. If possible, the window should remain open. With the helper, this can be achieved. The cooler will be more efficient if the window is always open, increasing the flow of air to the cooler.
[rank_math_rich_snippet id=”s-c568f142-161f-4dcd-a550-cf83b3b3d94f”]
Step 3: Connect The Motor And Fan
After you have installed the unit in the window, you need to connect the motor and the fan to the cooler’s body. Your swamp cooler will function better if your motor can pump sufficient water to it, so you choose a motor with a high horsepower rating.
Install a fan that can properly move the air outside of your room so that your cooler will be done correctly and efficiently
Step 4: Install The Side Fins
To open the window, slide the edge of one of the fins provided with the unit until the other end catches against the window frame. Install two small screws, and seal both ends with silicone caulk. Do the same with the other fin. The window should be closed, and the cooler top should be sealed with caulk.
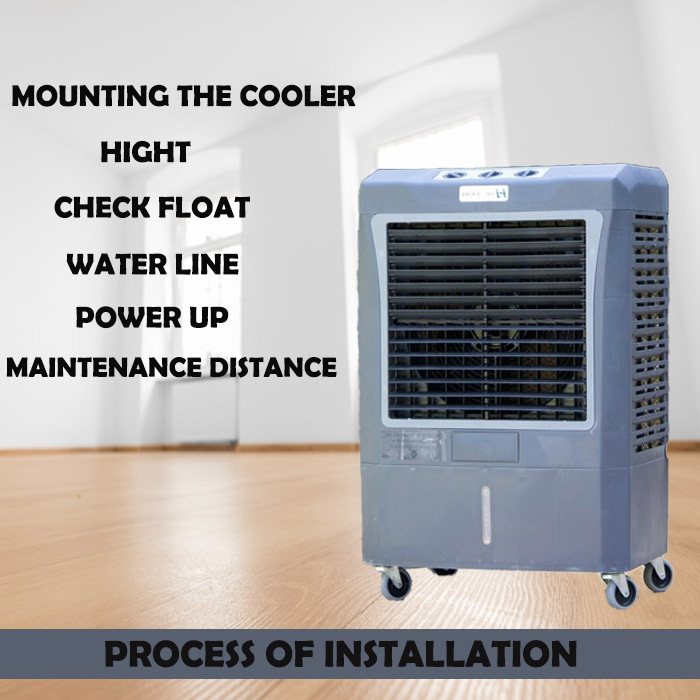
Step 5: Connect The Water, Plug In The Unit And Test It
The water supply must be properly connected, so you should choose a method that fits your needs and turn it on to fill the reservoir. Manual and automatic water supply systems are available for the swamp cooler you should choose according to your needs and conditions.
Installing The Water Line:
Connecting to water is possible in various ways. Adding a water connection directly to the cooler is the easiest way to install it. The ideal way is to use the automatic system of water filling in the cooler. Ensure the water connection is connected correctly, and there will always be enough water in the cooler. If there is no water in the cooler and you run it, it will badly damage the motor, and the entire system could break down.
Using the manual system is not a good idea because if you do not fill the water in the cooler and run it, your whole system could be damaged. It would be best to choose water pipes with the right length and width for the cooler motor so that the motor gets enough water to pump and the cooler works properly.
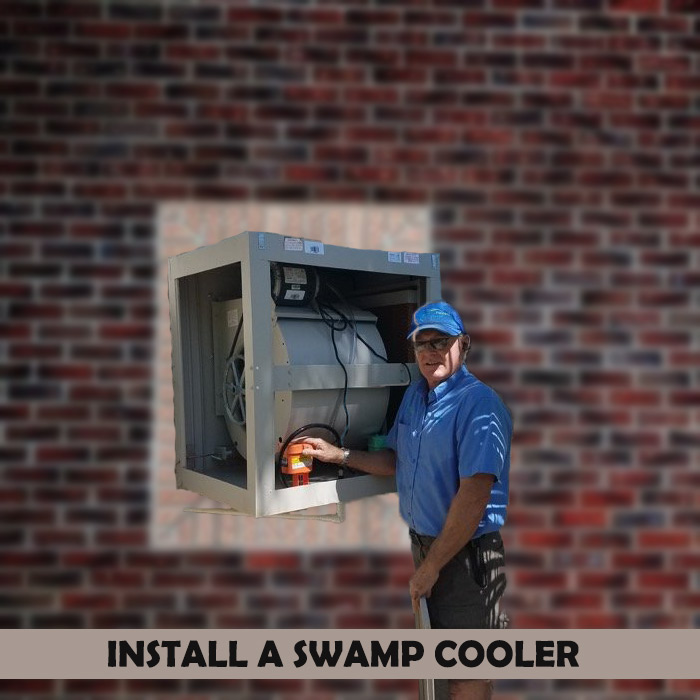
Step 6: Connect the Power Supply.
When you make all the above points, you should add the swamp cooler to the power supply and make sure all the instruments are working correctly, and the cooler is making enough cooler that is required.
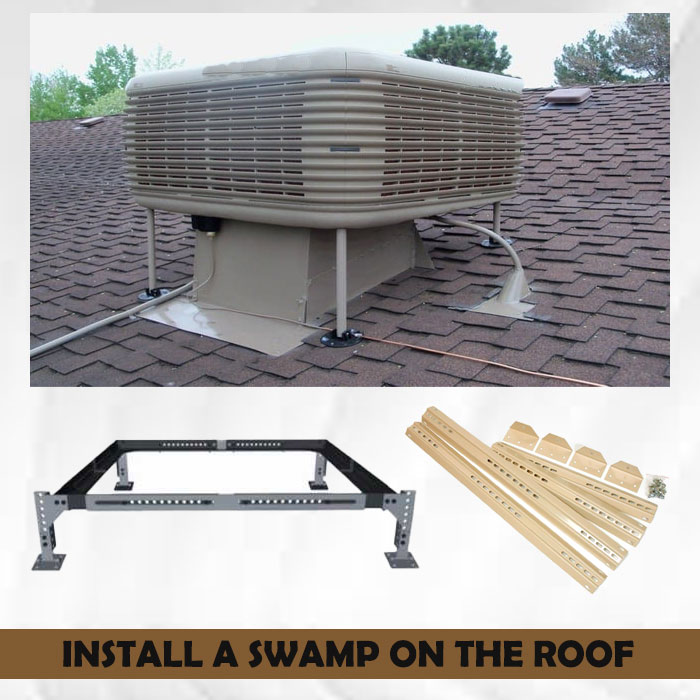
Installing A Swamp Cooler On The Roof:
Step 1:
The first and most crucial step in installing the swamp cooler on a roof or wall is choosing a suitable location. The cooler should be placed in an area where the balance of the cooler will be good, and there will be sufficient airflow.
If you are setting up a swamp cooler, another essential factor is to choose a spot that will provide shade or is protected from the sun’s rays.
Step 2:
Choosing the right location for your swamp cooler
How about the next step?
If you have a swamp cooler, you should mark its duct and ensure it is in the center. Make sure the swamp cooler balances properly and make sure it stands on its own.
Step 3:
At the corners of the duct outline, holes should be drilled for the mounting legs, which would carry the cooler’s weight.
Make sure that the cooler is leveled at the right place.
Step 4:
According to the manufacturer’s instructions, it is possible to mount the swamp cooler on the mounting legs and connect it to the duct. It should also be fixed to the thermostat wire that should have been previously installed.
Step 5:
Connect the cooler with a water supply and make sure all the wiring is connected in the correct way and in good working condition.
Step 6:
We know that swamp coolers work on the principle of evaporation, so we must have water for the cooling process. To fill the water, you should connect the waterline and use an automatic filling system.
Step 7:
If you have a swamp cooler, it might be a good idea to cover it with a stand and cover that will protect it from rainwater, so you should fix the stand and cover it, so the rainwater does not flow into the cooler. But make sure there will be enough airflow for the cooler to work efficiently.
The cooler will not corrode if it is covered with rainwater, and the pads will not lose their shape or become saturated.
Step 8:
Lastly, you should check all the connections and settings you have made. If there is any leakage, you should seal them with the help of aluminum tape.
When you check all the connections and are sure everything is ok, you can run your swamp cooler.
Here Are Some Tips For Installing Your Swamp Cooler:
While you are installing the swamp cooler, you should keep a few things in your mind.
Climate:
Before purchasing an evaporative air cooler, you should consider one drawback. Unlike other types of equipment, this one works best in dry air. Because of this, if you live in a dry area, you should buy it, and this will be the best choice for you.
Location:
As discussed in the above paragraph, the area and climate matter when you buy the swamp cooler. Although these coolers need to be installed outside the room so keep in mind, there is a good flow of air.
Another critical point is to choose the location where you can easily connect your swamp cooler with a water connection.
Water Exchange:
Water connection to the cooler is essential, but the swamp cooler’s water exchange system is also vital. When fresh water is pumped into a swamp cooler, the water flow and cooling of the cooler will be excellent.
Water should be exchanged frequently so that mold will not grow and pads will not become saturated.
Size:
Cube meter hour is the unit of measurement for swamp cooler capacity. When choosing a swamp cooler, keep in mind where it will be installed. Make sure you know where you will install the cooler.
Features:
There are different types of evaporative coolers available in the market, and each has its advantages. It would be best if you chose a cooler based on your requirements, space, and use. Different types of coolers have different capacities. Cooler pads should be considered when choosing a cooler.
Tips For Maintaining Swamp Cooler:
Swamp coolers are a great choice if you’re looking for a cooling system for commercial buildings or domestic use. Here are a few tips for maintaining industrial air coolers.
Winterizing Your Industrial Evaporative Cooler:
If you want to prevent your cooler from rusting, turn off the water supply, rinse the water pan, and remove all the dirt, minerals, and other particles accumulated in it over the winter. The winterization of the swamp cooler will prevent your cooler and maintain its efficiency and enable you to save on maintenance after the winter.
Regular Change Of Cooler Pads:
Cooler pads must be replaced regularly. If rainwater collects on the old pads and runs down the cooler, the cooler may rust because dirt and mineral deposits will accumulate. To avoid rust, you should replace your pads every fall, not every spring. Most individuals who do not replace the pads to save money will have to spend more since they may have to replace the entire cooler and not just the pads.

Maintain The Level Of Water:
As you know, swamp coolers use evaporation technology, which means that water is the fuel for the cooler, so you need to maintain enough water in the cooler for the motor to work correctly, and the cooler will cool your room.
A better idea is to automatically connect the cooler to a home water supply to fill the cooler’s reservoir. You should also keep changing the water in your cooler almost every week to prevent smells from accumulating.
How Often Should You Replace Swamp Cooler Pads?
Reduced Airflow:
If you notice your swamp cooler is not cooling as well as in the past, this may be due to saturation in the pads and poor water flow. You can fix this by changing the swamp cooler pads. By increasing the flow of water through the pads, you will increase the efficiency of your cooler. Nonetheless, if your cooler is still not working correctly after changing the pads, you should try another troubleshooting method.
Types Of Materials:
Material composition is one factor that determines whether pads need to be replaced yearly or last for many years. Although cellulose pads require less replacement, inexpensive materials such as aspen may require replacement every season.
Yearly Maintenance:
It is not necessary to change pads every year. If the pad has become thinner or has frayed, it is best to replace it.
Protection For Your Cooler:
You can protect your swamp cooler by covering them, which is not a difficult or costly method. A swamp cooler cover will protect it from corrosion and other problems.
It’s essential to have enough water in the cooler when you’re using it. Check the condition of the pads regularly.
Conclusion:
Installing and protecting your swamp cooler is easy if you follow the techniques and tips mentioned above. There are not many technical steps involved in installing a swamp cooler, but you should follow some of the steps listed in this article. If you follow the above instructions and install your swamp cooler the same way, your swamp cooler will function properly.